

There’s something so satisfying about turning a box of forgotten odds and ends into a piece that makes the whole backyard feel a little more magical. For this project, I’m taking 40 old metal house keys, coating them in a bright copper spray paint, and hanging them from a thick driftwood branch to make a set of giant backyard wind chimes that shimmer and clink in the breeze.
I love projects like this because they’re affordable, easy to personalize, and full of character. If you enjoy outdoor decorating, upcycling, or just want a conversation piece for the porch, patio, or garden, this is a fun one to make in an afternoon. It also has that rustic-meets-polished look I’m always drawn to when I want a space to feel welcoming for family and friends.
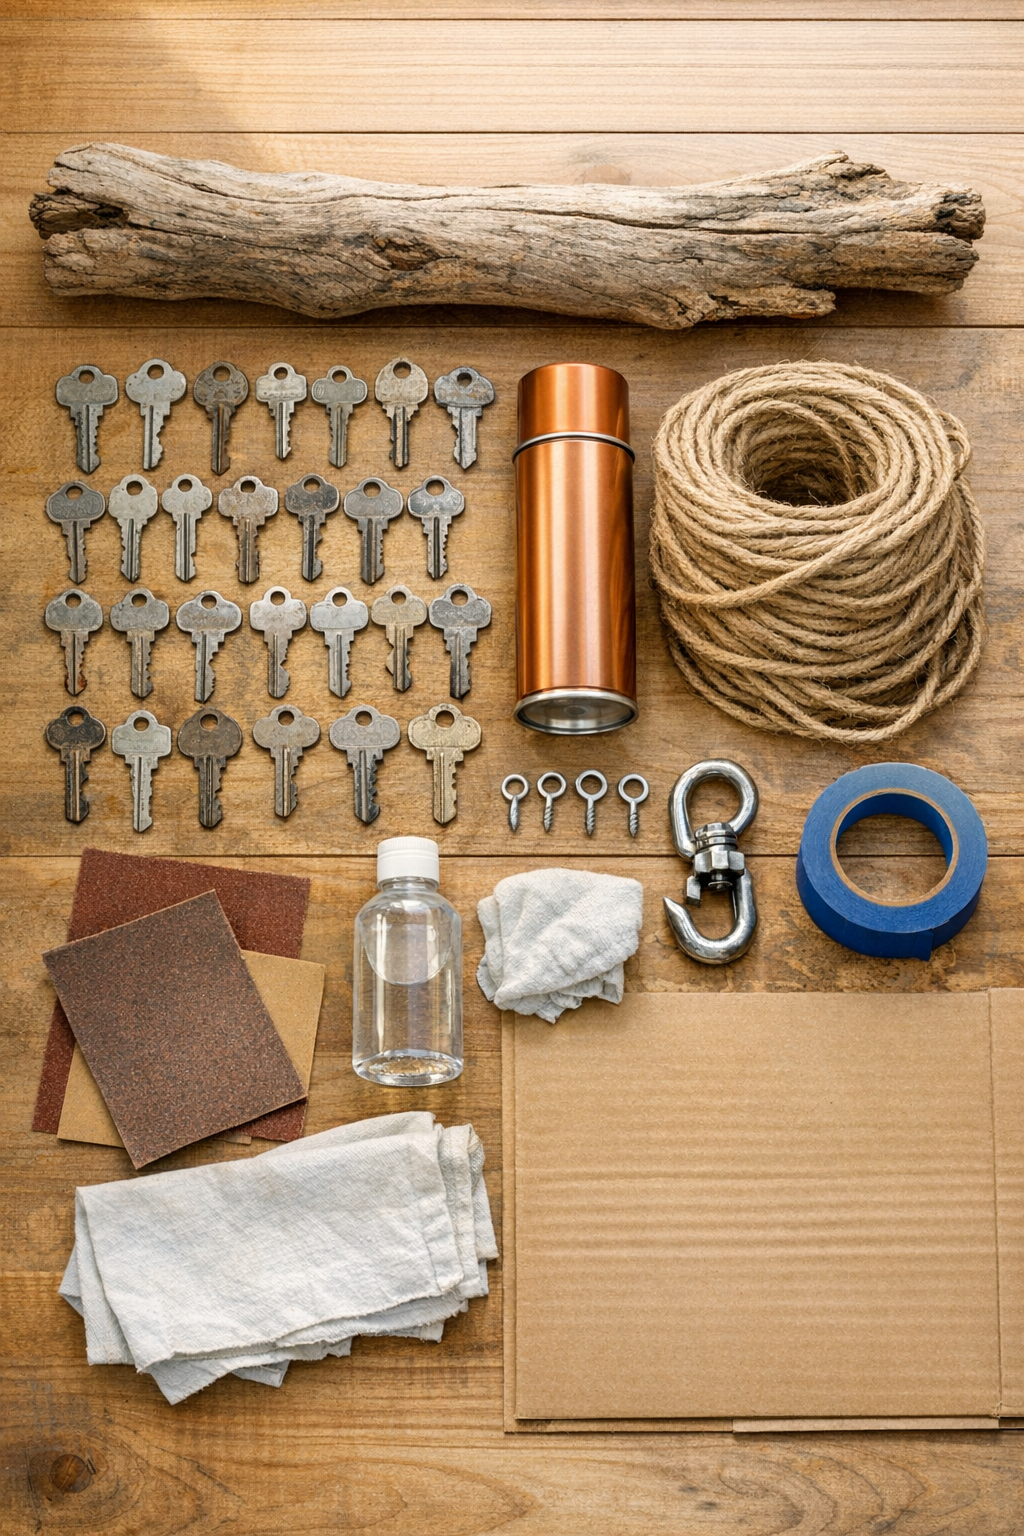
Materials
1 thick wooden driftwood branch, 36 to 42 inches long and 3 to 4 inches thick
40 old metal house keys
1 can bright copper spray paint, 12-ounce can
1 can clear outdoor sealer spray, 12-ounce can
45 feet natural jute twine or weather-resistant cord, cut into 40 pieces at 10 inches each plus 2 pieces at 36 inches each
4 screw eyes, 1 1/4-inch size
1 heavy-duty outdoor ceiling hook or tree hook, 1 piece
2 sheets medium-grit sandpaper, 120-grit
1/2 cup rubbing alcohol or household degreaser
1 clean lint-free rag, 1 piece
1 roll painter’s tape
2 large pieces of cardboard or 1 drop cloth for spray painting surface
Instructions
1. Clean the driftwood branch with a dry brush or rag to remove loose dirt, then lightly sand any rough spots that might catch the cord or splinter during handling.
2. Wipe all 40 keys with rubbing alcohol and a rag so the spray paint will stick well; if the keys are especially grimy, give them an extra pass and let them dry fully.
3. Lay the keys out on cardboard in a single layer, spray one light coat of bright copper paint, wait according to the can directions, then add a second coat for even coverage.
4. Flip the keys over once the first side is dry to the touch, then spray two light coats on the back so every key is fully copper-colored.
5. Spray the painted keys with a clear outdoor sealer once the copper paint has dried, then let them cure completely so the finish holds up better outside.
6. Mark 40 hanging points along the driftwood branch, spacing them about 3/4 to 1 inch apart across the lower front edge for a full, balanced look.
7. Cut 40 pieces of twine to 10 inches each, or vary a few lengths between 8 and 12 inches if you want a more staggered chime effect.
8. Tie one piece of twine through the hole of each key using a secure double knot, leaving the key hanging at the end like a little pendant.
9. Tie the loose end of each twine piece around the driftwood branch at the marked spots, pulling the knots snug so the keys hang freely without bunching together.
10. Adjust the spacing and lengths until the keys overlap just slightly and can still tap together in the wind for a soft metallic sound.
11. Twist 2 screw eyes into the top of the branch about 4 inches in from each end, then tie the two 36-inch hanging cords to those screw eyes.
12. Hang the finished wind chime from a sturdy outdoor hook on a porch beam, pergola, or tree branch, then give it a gentle shake and make any final knot adjustments so it hangs level.
results in page 2