6. The temperature difference at the floor and base was real
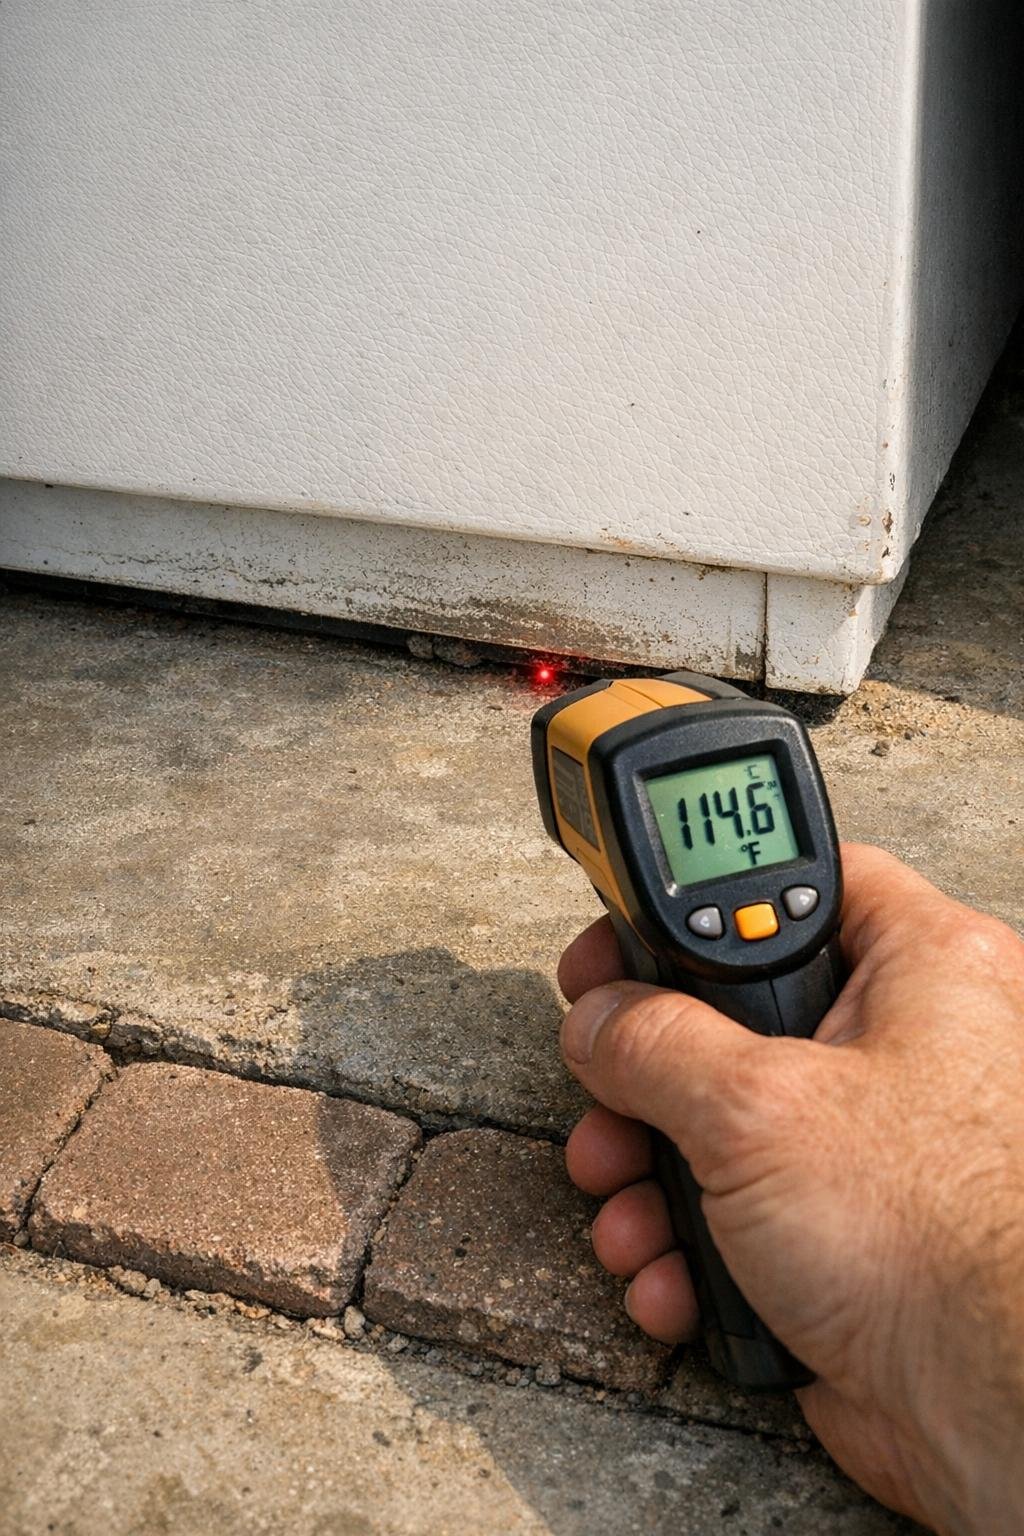
This was the first meaningful change I noticed. On several hot afternoons, the bare concrete floor next to the freezer measured between 90°F and 94°F. The top surface of the pavers, under shaded conditions beneath the freezer edge, generally measured 84°F to 88°F. That is not a dramatic drop, but it was consistently lower than the slab itself by about 4°F to 6°F in my spot checks.
The metal base edge of the freezer also read slightly cooler during the hottest part of the day. Before the test, similar afternoon readings on the lower cabinet edge usually landed around 91°F to 93°F. With the pavers in place, I more often saw 87°F to 90°F. Infrared readings are imperfect on mixed surfaces, but the trend was steady enough that I’m comfortable calling it a modest improvement.
7. Compressor run time changed a little, not a lot
I did not wire in a dedicated cycle logger, so this part was observational rather than instrument-grade. Still, after living with this freezer for years, I know its rhythm pretty well. During the test, the compressor seemed to run a bit less aggressively in the 3 p.m. to 7 p.m. window. Instead of long, drawn-out cycles during peak garage heat, I heard slightly shorter runs with a little more time between them.
If I had to put numbers on it from my notes, the afternoon cycles looked shorter by perhaps 5% to 10% on the hottest days. That is not enough to transform your utility bill, but it was noticeable to me because that late-day period is normally when the freezer sounds busiest. In the morning and late evening, I noticed almost no difference at all.
8. Power use dropped, but only slightly
Over the two-week period on pavers, the freezer averaged about 0.94 kWh per day, based on my plug-in monitor. In the two weeks immediately before the change, under broadly similar summer use, it had averaged about 0.99 kWh per day. That works out to a reduction of roughly 0.05 kWh per day, or about 5%.
That’s a small number in dollar terms. At an electricity rate of $0.16 per kWh, 0.05 kWh per day amounts to less than a penny a day, or around $2.90 per year if the effect stayed consistent, which it probably would not across all seasons. So no, this is not a thrilling money-saving hack. But as a small heat-management tweak that costs almost nothing if you already have pavers, it was still interesting.
9. Interior freezer temperature stayed slightly steadier
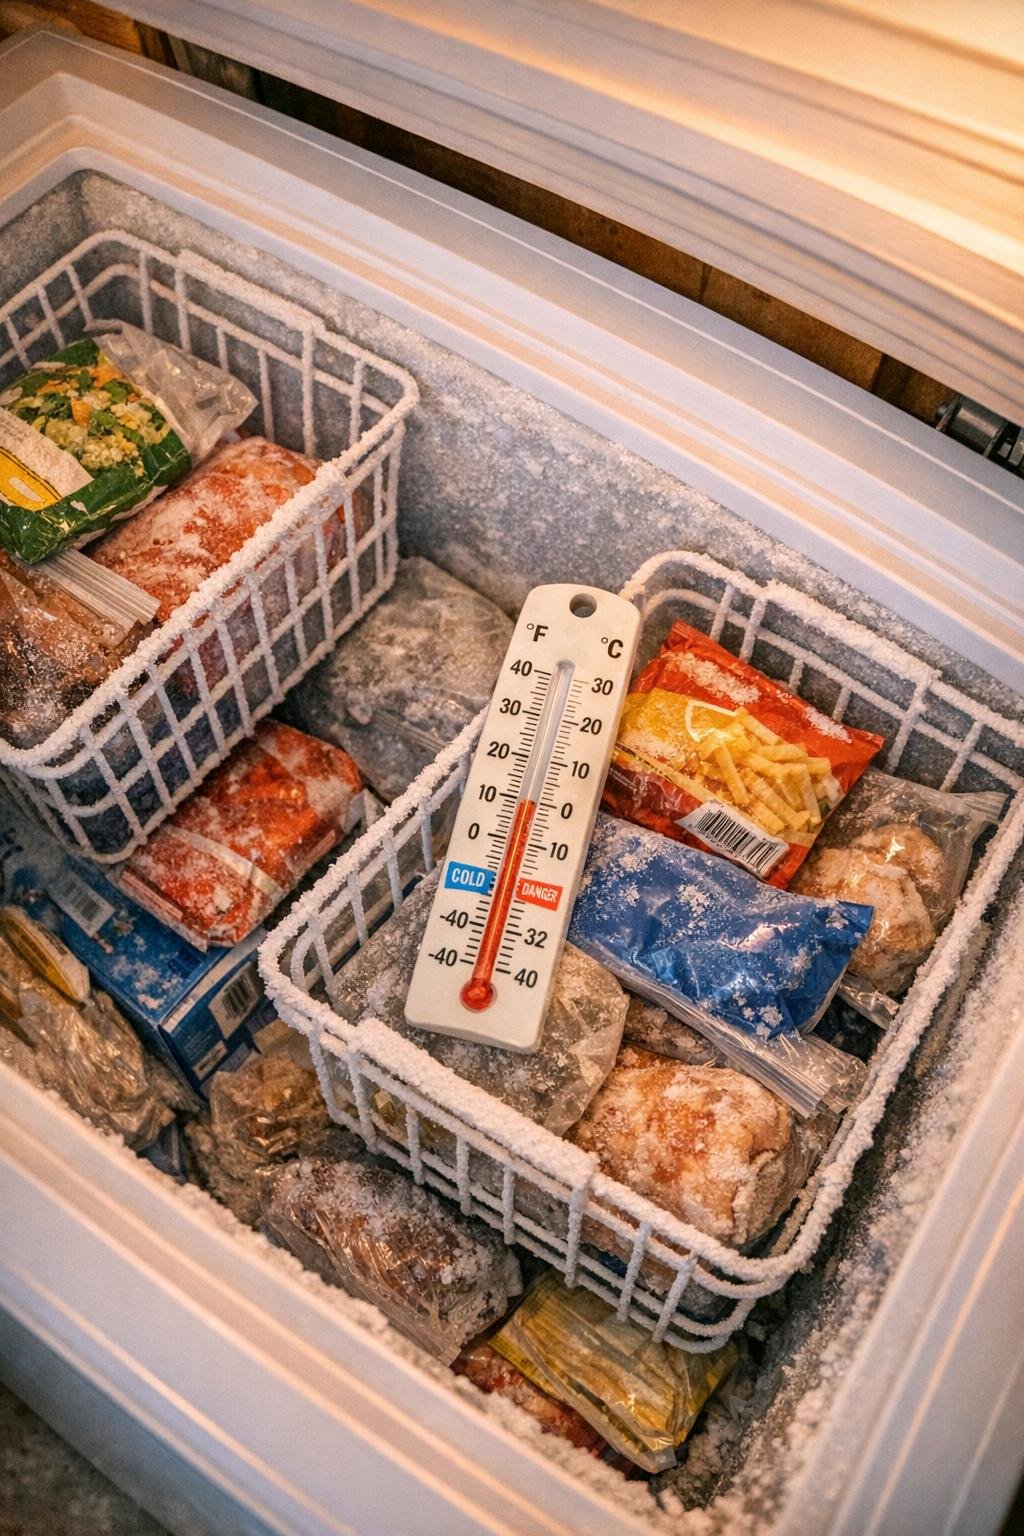
I keep my chest freezer set to hold food safely below 0°F, and the internal thermometer usually reads between -2°F and 4°F depending on where I place it and how recently the lid was opened. During the paver test, the average readings were not dramatically colder, but they were a touch steadier in late afternoon after repeated garage heat buildup. I saw fewer moments where the thermometer crept up to the higher end of its normal range.
Most afternoon readings during the test sat around 0°F to 2°F instead of drifting to 3°F or 4°F. That is still well within a healthy freezer range, so I wouldn’t oversell it. But I came away feeling that the appliance was not fighting quite as hard against the ambient heat load from below and around it.
10. Condensation and dampness were reduced around the base
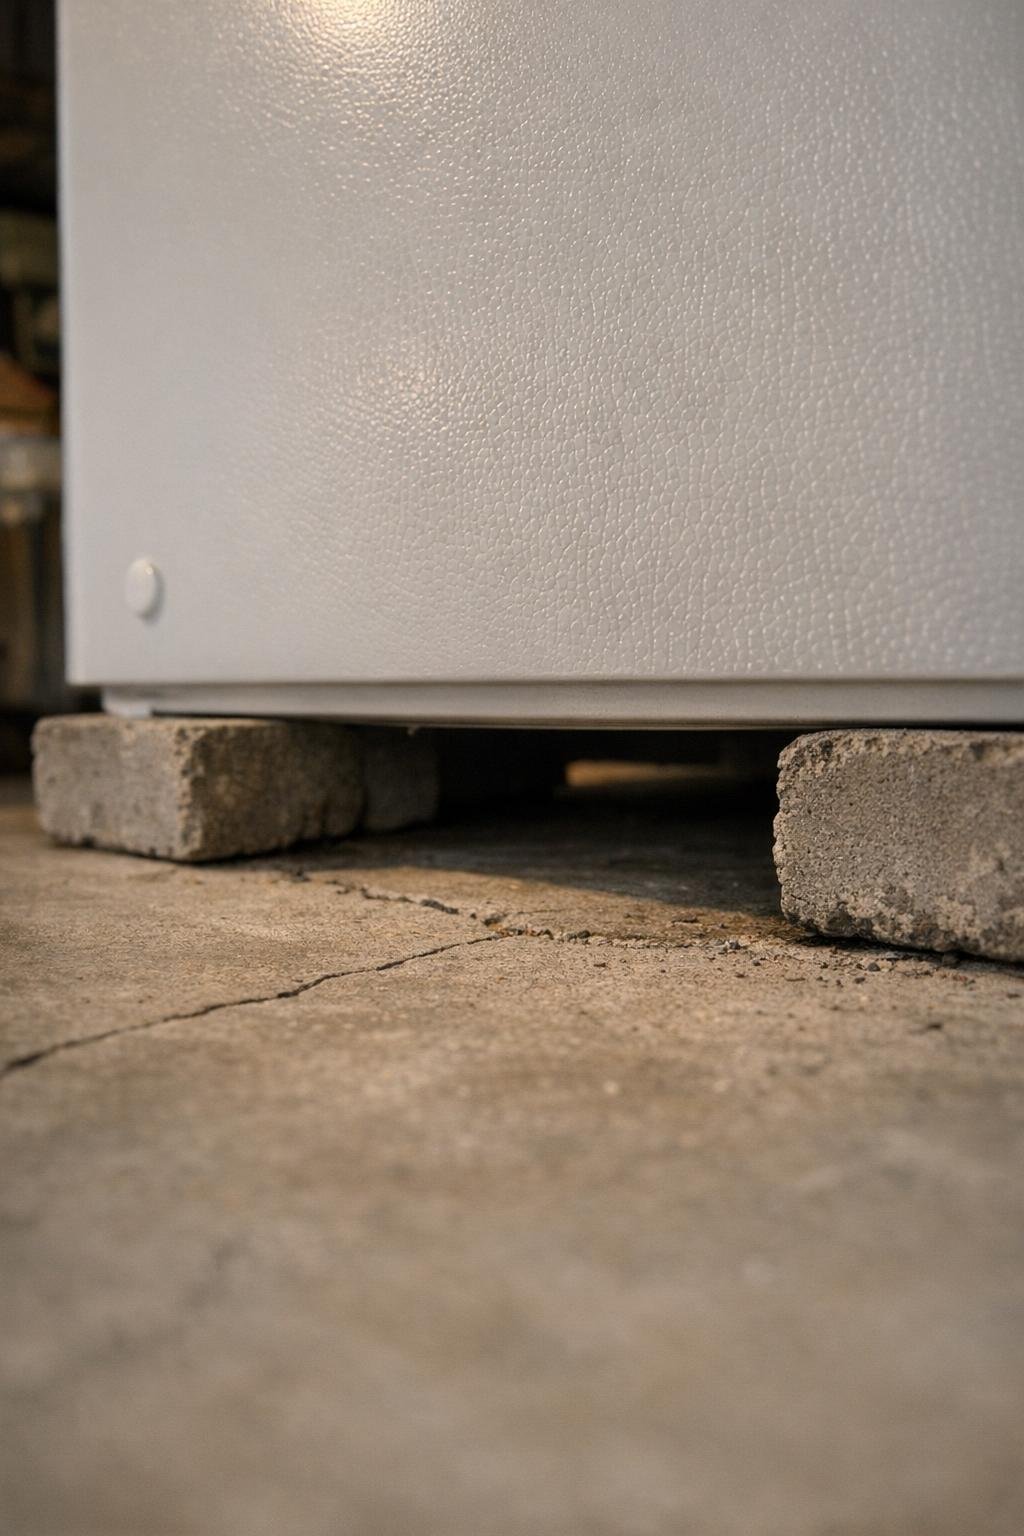
This was one of the more practical outcomes. My garage can get humid in August, and I occasionally find a slightly clammy feeling on the floor around cold appliances, especially where warm humid air meets cooler surfaces. With the freezer raised 2 inches on the pavers, the immediate area around the base stayed a bit drier. Not bone dry every hour of every day, but improved.
I think part of that was simply airflow. Even a small lift changes how air moves under and around the base, and concrete pavers do not trap moisture the way a flat impermeable mat sometimes can. I did not see any visible puddling before or after, but I did notice less of that faint humid film when I ran my hand along the slab edge near the freezer in the evening.
11. Noise and vibration were slightly different
I had half-expected concrete pavers to make the freezer sound louder by giving vibration a denser surface to travel through. In my garage, that did not really happen. If anything, the sound changed more in character than in volume. The compressor hum seemed a little sharper right at startup, but the overall running noise was about the same.
The more important part was making sure both rails sat firmly and evenly on the pavers. Once leveled, the unit did not rattle or chatter. Before shimming that one corner, there was a faint tick when the compressor kicked on. After leveling, it disappeared. If someone tries this and ends up with more noise, I’d first suspect uneven support rather than the pavers themselves.
12. It made cleaning and inspection a bit easier
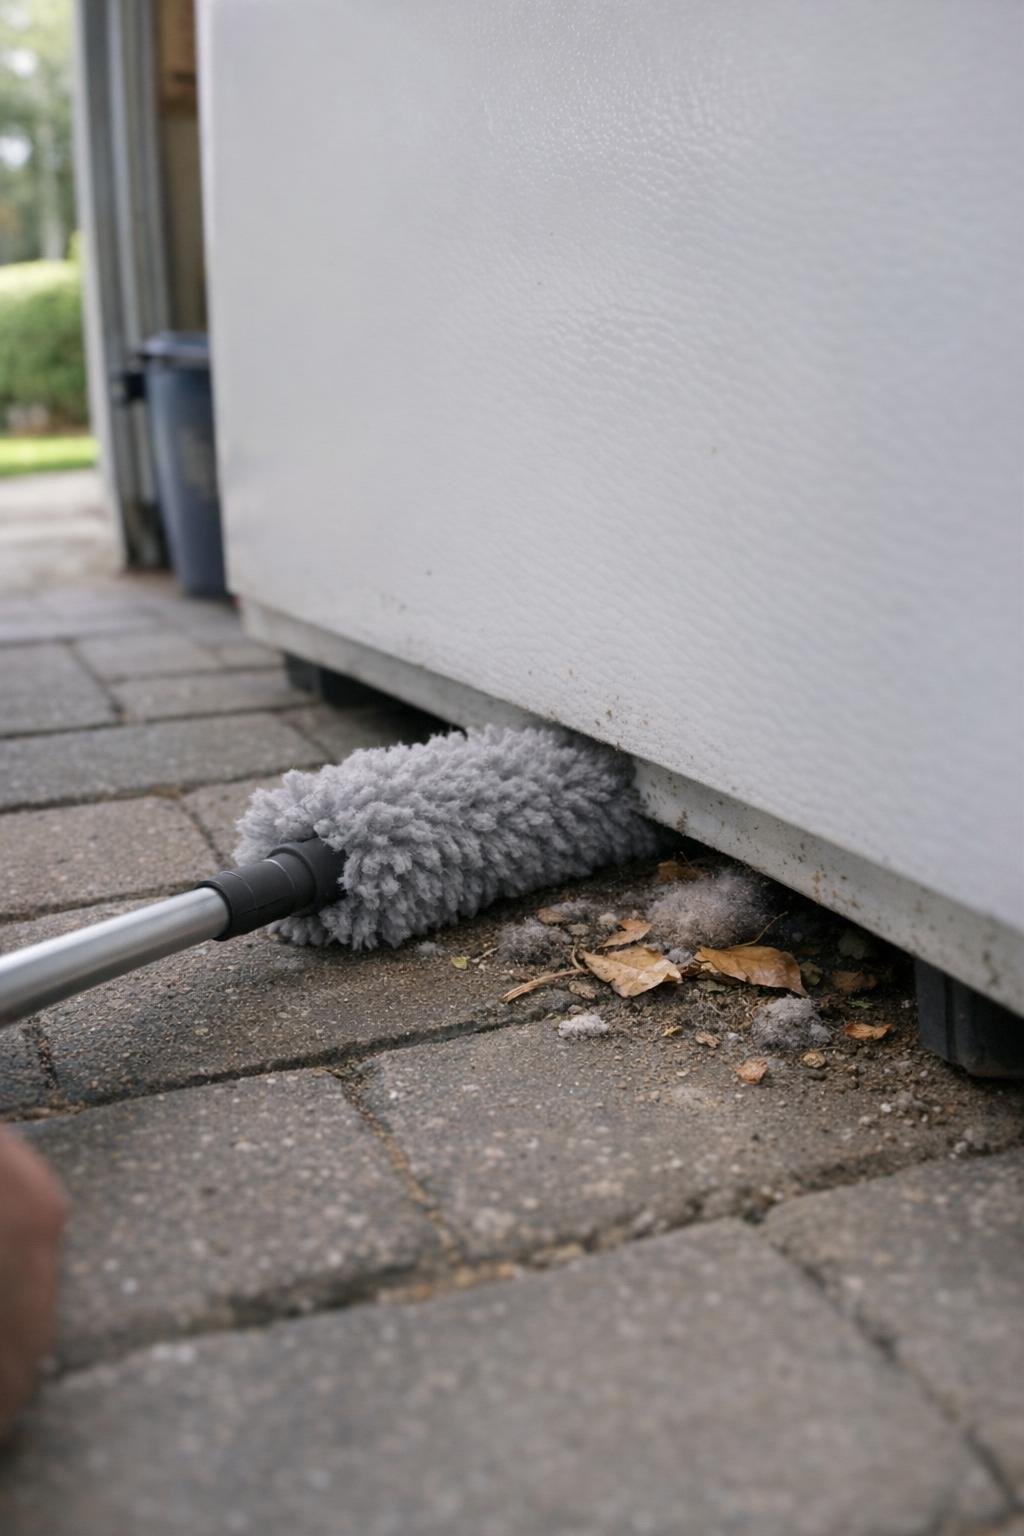
This was an unexpected quality-of-life benefit. With the freezer slightly raised, I could see more clearly under the edge and sweep out dust, dead leaves, and the mysterious garage grit that collects everywhere in summer. I used a long-handled microfiber duster and could actually get it under the perimeter better than before.
I also liked being able to inspect the slab beneath the unit more easily for signs of moisture or pests. In garages, that kind of visibility matters. I have had enough experience with ants, dust buildup, and forgotten cardboard in corners to appreciate any setup that makes routine checking easier by even 10%.
13. There are a few drawbacks worth knowing
The first drawback is height. Adding 2 inches is not much, but if you are short or if your freezer is already deep and packed, you will notice the extra reach when grabbing something from the bottom. I’m 5’8″, and I felt it most when digging out a vacuum-sealed roast from the bottom layer. Not a deal-breaker, just something to consider.
The second drawback is load concentration. A freezer is heavy, and that weight is being focused onto the contact points over the pavers. My pavers were thick, flat, and fully supported by a sound slab. I would not do this with thin decorative stepping stones, cracked pavers, or an uneven floor. And I would definitely not stack pavers to get more height. That crosses from practical experiment into bad idea territory.
14. Was it worth doing for only two weeks?
Yes, mostly because it answered the question clearly enough. Raising the freezer on two concrete pavers did not revolutionize performance, but it did create a small and measurable improvement in a hot garage during August. I saw slightly cooler readings at the base, a modest reduction in daily energy use, a little less apparent afternoon strain, and somewhat better dryness around the bottom.
If you are hoping for a dramatic drop in power consumption, this probably won’t deliver that. If, however, you are trying to reduce thermal stress just a bit in a punishing garage environment, especially during a few brutally hot months, it is a reasonable, low-cost tweak. For me, the benefits were subtle but real.

15. My final verdict and who should try it
After the two-week trial, I kept the freezer on the pavers. That probably tells you everything. Not because the difference was huge, but because there was enough upside and no serious downside once it was leveled properly. The materials cost me nothing since I already had the pavers, and even buying them would likely run only $8 to $16 total at a home center, depending on your area.
I’d recommend this experiment if your chest freezer sits in an unconditioned garage, your summer floor temperatures get into the high 80s or 90s, and you can support the appliance safely and levelly. I would skip it if your garage floor is badly uneven, if the freezer already struggles due to poor ventilation, or if lifting it creates a safety problem. In my case, the headline result is simple: putting the freezer on two concrete pavers did help, just not in a flashy way. It was one of those small home adjustments that makes more sense the longer you live with it.