Variations & Tips
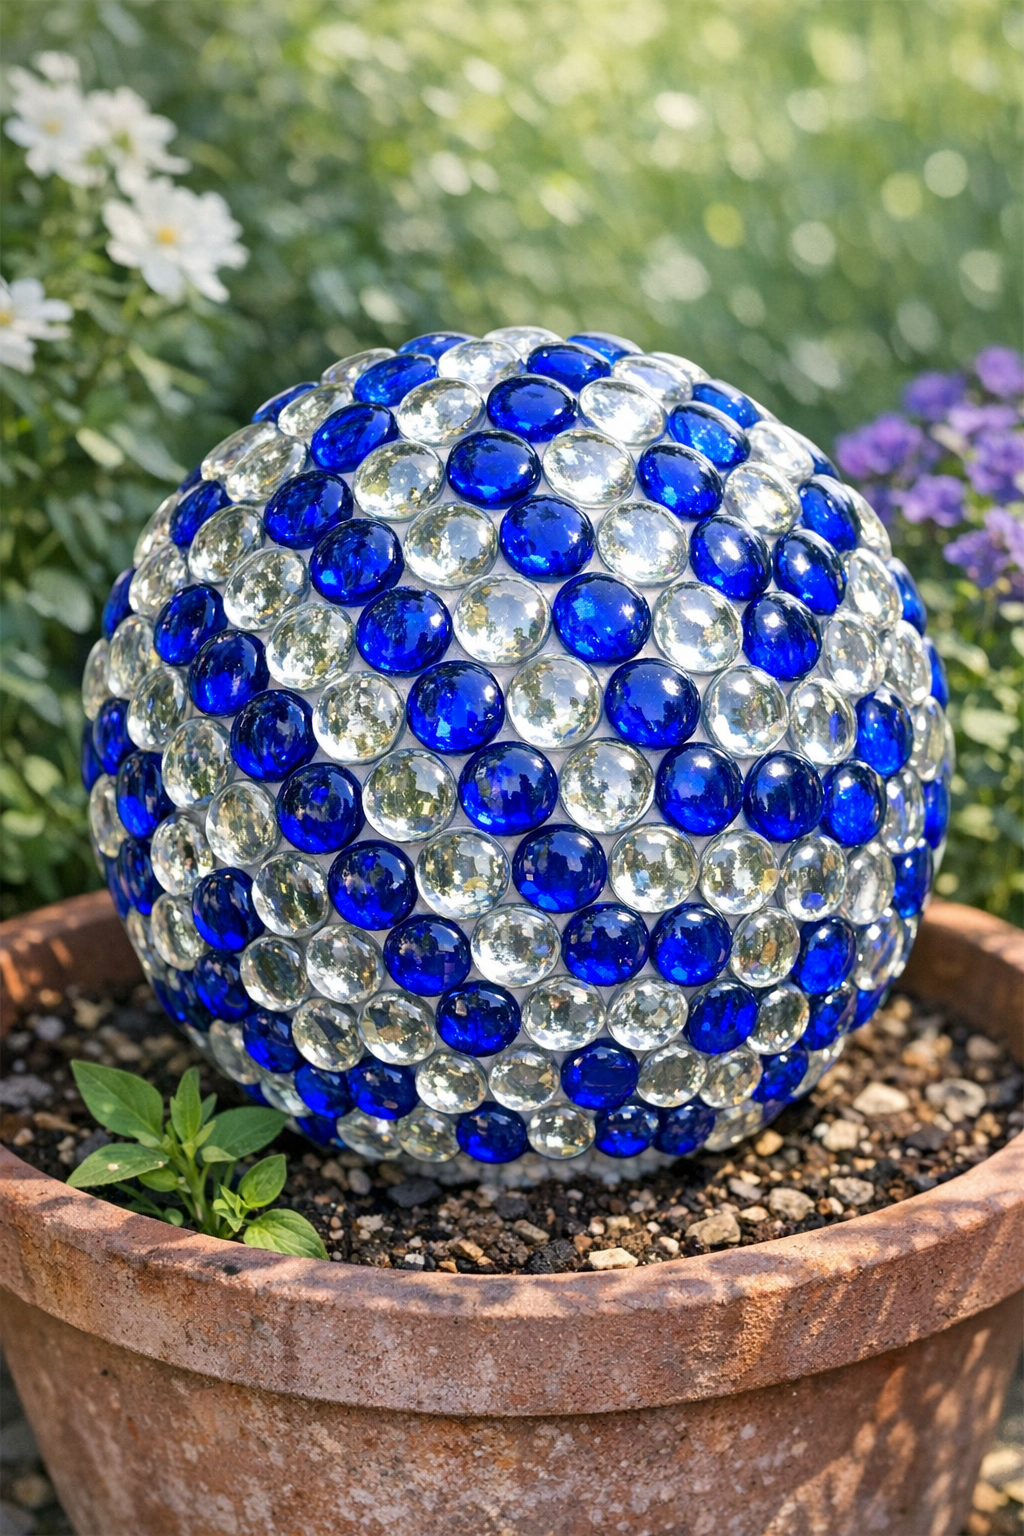
Color Mix: Use all one color for a cleaner look, or blend two to three shades for a more mosaic-style finish. Blue and clear give it a classic garden look, but green is beautiful near plants.
Glue Choice: Make sure your glue is labeled foam-safe, since some adhesives can melt Styrofoam. I always test a tiny spot first if I’m using a brand I haven’t tried before.
Outdoor Placement: This project works best in a somewhat sheltered outdoor spot, since the base is Styrofoam. If your yard gets a lot of harsh weather, display it on a covered porch or bring it inside during storms.
Display Option: Nestle the finished ball into a flower pot, metal bowl, or plant stand so it stays put. A stable base makes it look more polished and keeps it from rolling around the garden.
Gap Management: Small spaces between the marbles are normal on a round surface, so don’t stress about making it mathematically perfect. I focus on even spacing overall, and once it’s outside catching the light, nobody notices tiny imperfections.
Make-Ahead Tip: If you’re crafting in short bursts like I usually do after work, glue one half first and let it set before finishing the other half. It makes the ball easier to handle and a lot less messy.